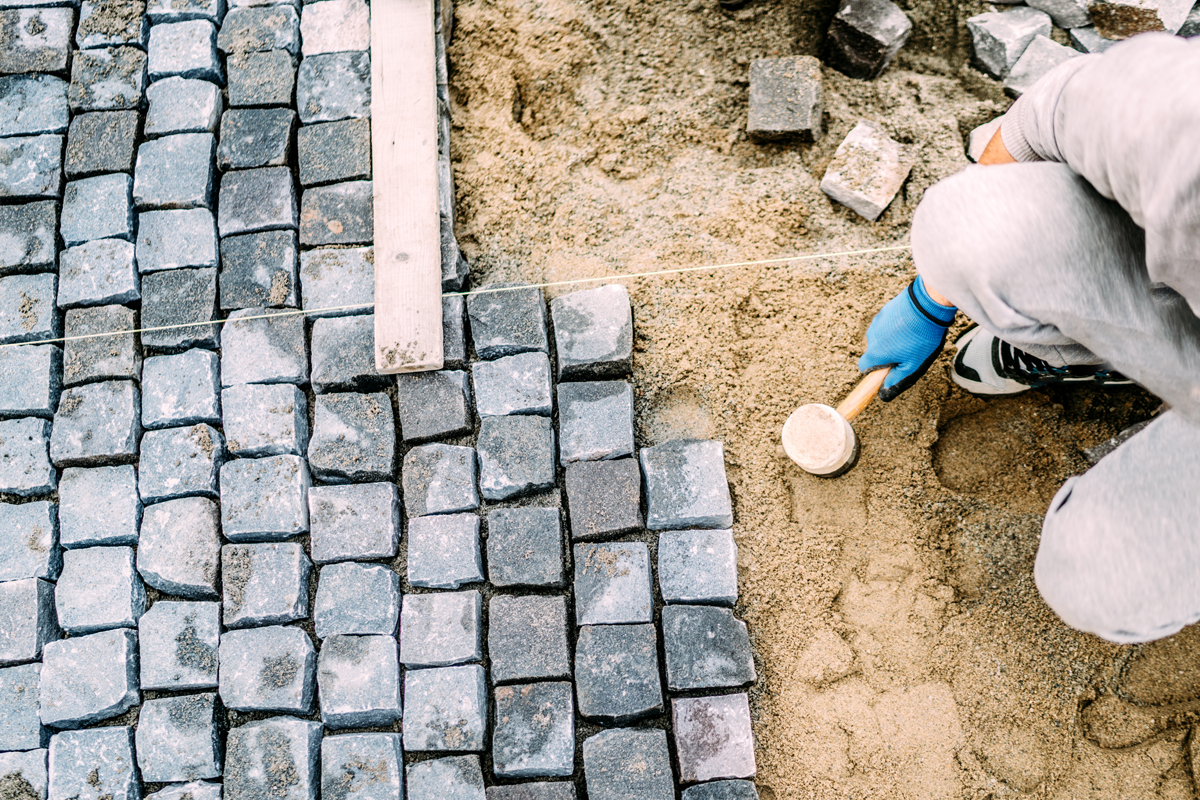
How To Lay Pavers For Walkway
If you wish to lay pavers for a walkway as your next DIY project, use this step-by-step guide below.
How To Install Pavers For A Walkway
Follow these steps to properly lay pavers for your walkway.
Step 1. Create A Border
- Begin by laying the pavers down.
- Always start against a hard and straight edge, if possible.
- Lay the outer borders as a first step.
- Next, fill in between the borders.
Step 2. Leave Gaps Between Pavers
- Try to leave at least 1/4 inch gaps between these blocks.
- A straight edge can be utilized to keep your blocks in line.
- You can use a 2-by-4 cut to length in order to maintain the width of the walkway.
Step 3. Install Edging
- It’s best to install edging along the perimeter every 12 inches.
- Use spikes for this task.
Step 4. Fill Out The Walkway
- Install the rest of the walkway, at this time.
- Make sure to regularly check to make sure the surface is uniform.
- You can make any adjustments by adding sand underneath the pavers or by tapping them down with a rubber mallet.
- Always maintain the proper slope.
Step 5. Cut The Pavers
- You will need a speed square to mark the spot for angled cuts.
- Clamp them one at a time to a stable surface and cut each with a concrete blade and circular saw.
- You may need to lower the blade several times as you make a few passes at this.
- It is possible for concrete dust to accumulate in the saw, ultimately leading to motor wear.
- Always follow the manufacturer’s instructions for this step.
Step 6. Cut Curved Paver Blocks
- When laying the blocks tightly against each other especially in one direction, mark the curve with a hose if creating a curve.
- Once the curve is clearly marked, cut the blocks in place with a circular saw.
Landscape Services In Scottsdale, AZ
Start creating your very own Landscape Lighting Project in Scottsdale or Phoenix, Arizona by giving Arte Verde a call today at (602) 618-0688 to schedule a free consultation!


