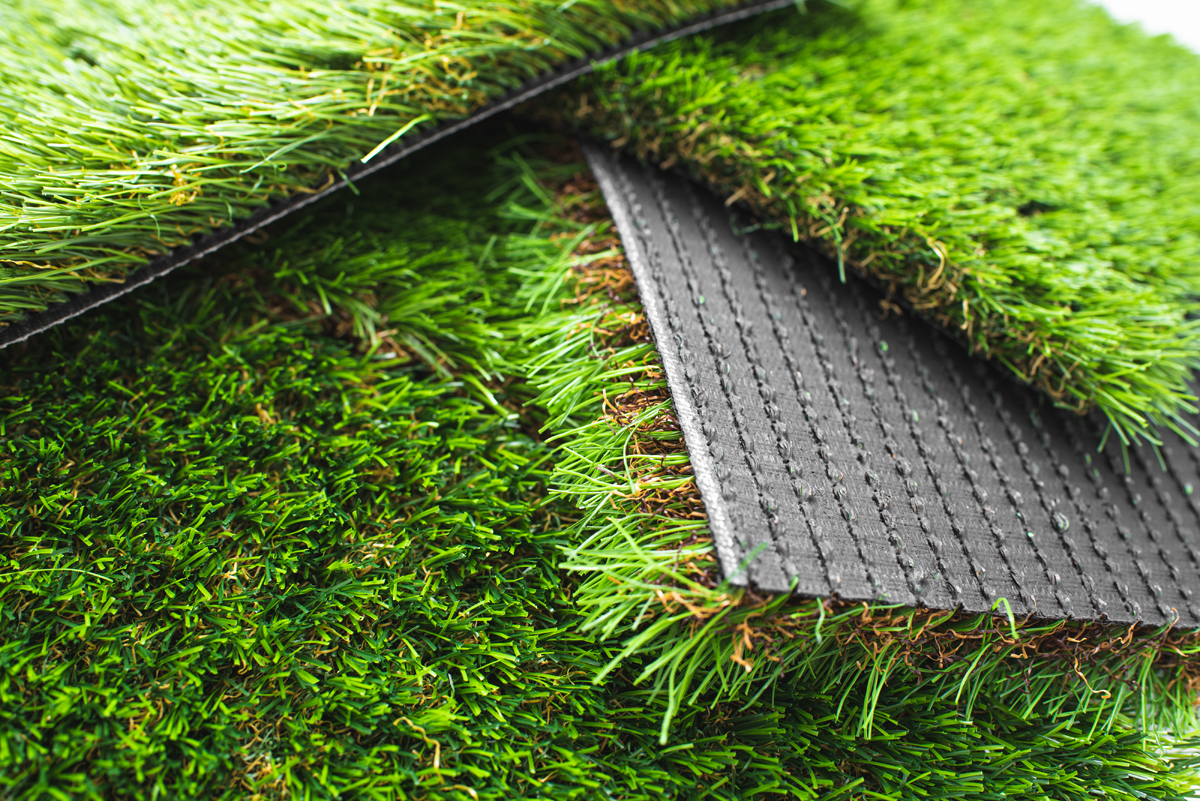
How To Lay Synthetic Grass
Synthetic grass has quickly become a viable option for homeowners looking for a lush, green lawn, especially in a place like Arizona! Installing this grass can lead to a maintenance-free lifespan of 15 years or so. Let’s look at a step-by-step guide to properly lay synthetic grass as your next DIY project.
Necessary Tools And Materials
Before attempting to lay your synthetic grass down, it’s important to have the following tools/materials on hand:
- Utility knife.
- Weed barrier.
- Garden spade.
- Stiff broom.
- Tamper.
- Builder’s sand.
- Rake.
- Landscaping staples.
- Artificial turf adhesive.
- Jointing tape.
- Rubber hammer.
- 7-inch galvanized lawn spikes.
How To Lay Down Synthetic Grass
Follow these 7 steps outlined below to properly and safely lay synthetic grass on your lawn.
Step 1. Remove Any Existing Grass
- Begin by removing the current turf or grass from your yard.
- To pull it up, you’ll want to use a spade or sod-cutting machine.
- Always dispose of the turf according to organic waste removal rules in your area.
Step 2. Level The Area
- A level base is needed to lay your artificial grass.
- Start by spreading 1.5 inches of builder’s sand in the area.
- This helps create a level surface.
- Use a landscape rake in order to distribute the sand evenly.
- Next, compact the sand with a tamper or small piece of plywood.
- Use a rubber hammer for this step, compacting the sand until it is level and firm.
Step 3. Lay A Weed Barrier
- Lay down some landscape fabric in order to reduce the possibility of weeds growing up through the turf.
- Roll it out to completely cover the area, while allowing the edges to overlap at any joints by a few inches.
- Trim this with a utility knife, securing it into place by using landscape staples every few feet.
Step 4. Apply The Artificial Turf
- Artificial grass features a “grain” to it, meaning it will bend slightly at an angle.
- Roll it out so the blades ultimately bend toward your house.
- This gives it the most natural look possible.
- Ensure all pieces are laid in the same direction.
Step 5. Join Turf Pieces Together
- Typically, artificial grass comes in widths of 12-15 feet.
- This means you’ll need to join some pieces together if the area you’re covering exceeds those measurements.
- To do this, trim the edge of each piece with a utility knife.
- Refrain from cutting the turf to ensure the pieces will meet without overlapping.
- Roll the pieces back and lay some jointing tape beneath the seam.
- Apply the artificial turf adhesive to the jointing tape and lay two pieces together.
- Make sure the seam matches up without any overlapping.
Step 6. Nail Grass In Place
- Use your rubber hammer to nail the grass down with the help of the 7-inch lawn spikes.
- Try to space out the nails every 4 feet or so.
- Spread the turf blades out and away from the base of the nail.
- Use the rubber hammer to secure it into place.
- Brush the nap up around the nail to hide its placement.
Step 7. Brush Your Lawn
- After the turf has been installed, brush the whole lawn with a stiff-bristled broom.
- This helps to fluff up the turf blades.
DIY Vs Professional Synthetic Grass Installation
While this can be done as a DIY task, many mistakes can be made, which can be costly in the future.
Professional synthetic grass installation usually costs anywhere from $10-$15 per square foot. Contact the experienced team at Arte Verde for more information today!
Landscape Services In Scottsdale, AZ
Start creating your very own Landscape Lighting Project in Scottsdale or Phoenix, Arizona by giving Arte Verde a call today at (602) 618-0688 to schedule a free consultation!


